Project-related Scheduler tasks
Adding project execution
To schedule project execution, select the event to which you want to assign the project execution task, then select the Add project execution command in the Add task menu. Select the required project in the Open project window and click Open.
There will be a new panel with configurable options on the right:
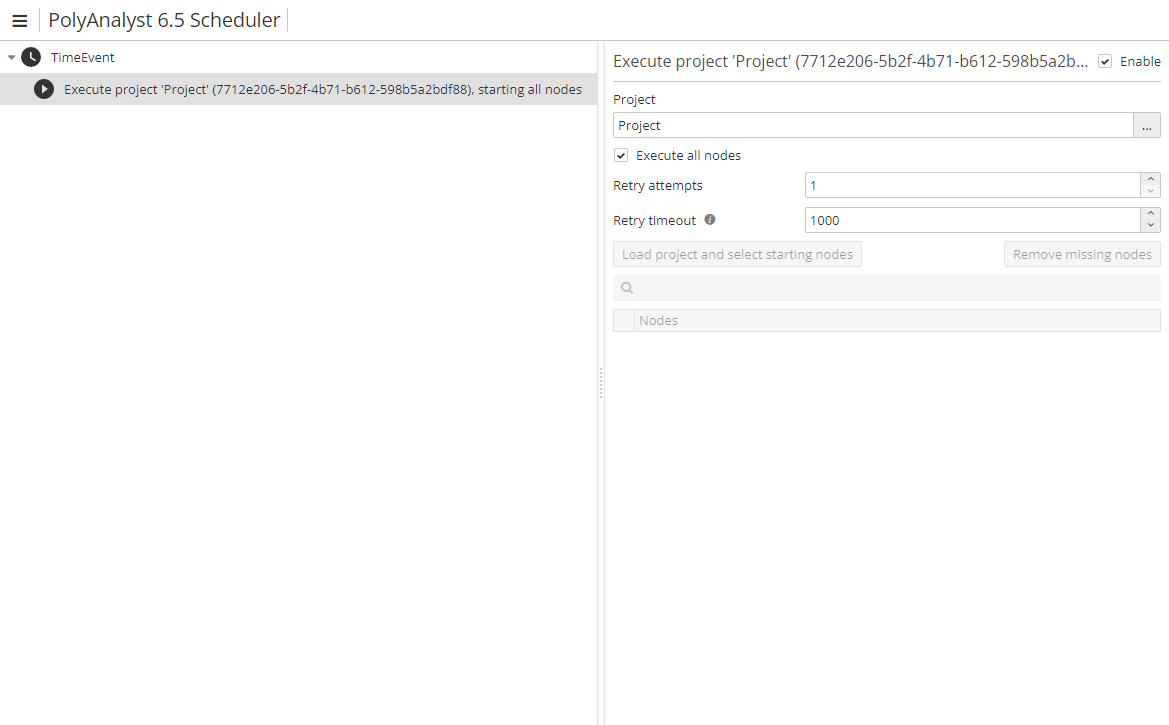
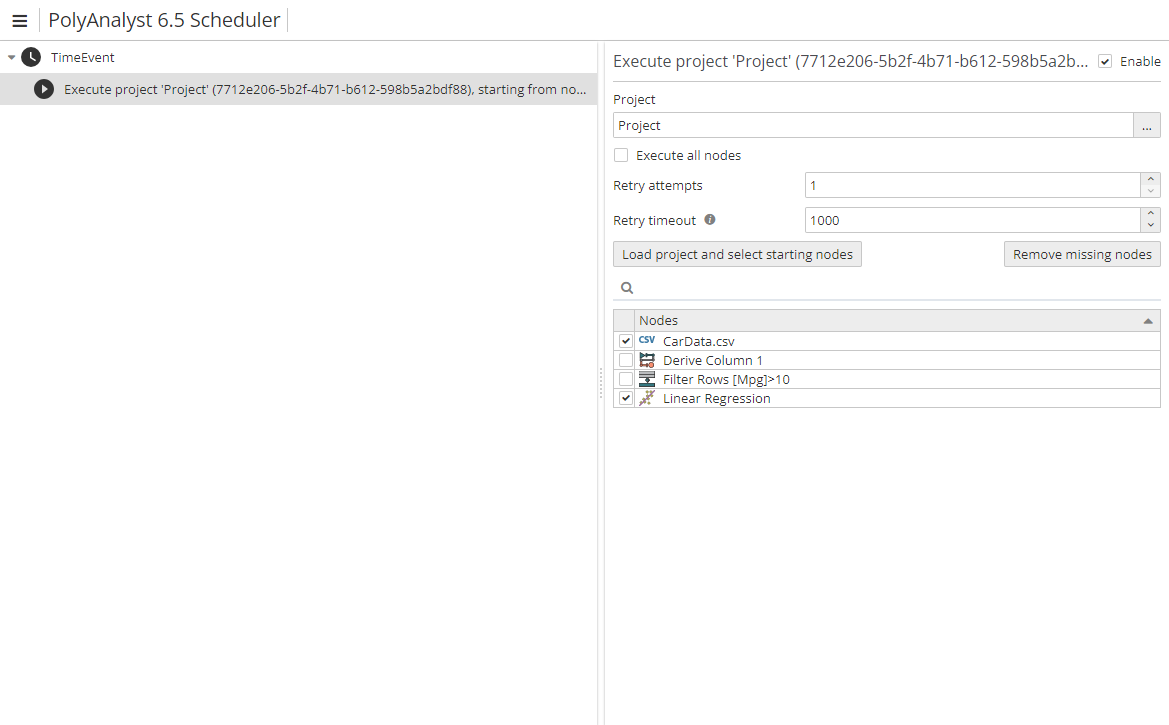
The option Execute all nodes is enabled by default. If you want to schedule delayed execution of certain nodes only, uncheck the option Execute all nodes and click Load project and select starting nodes. Then check the nodes to execute:
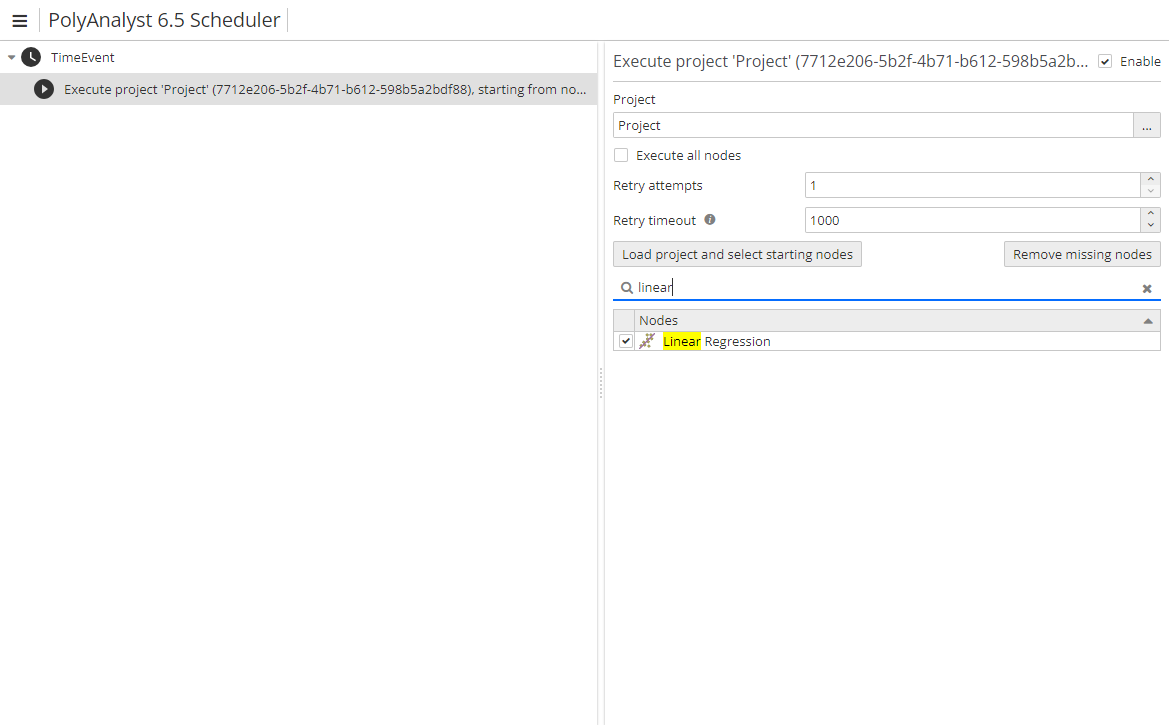
If there are many nodes in the project, you can use the filter field to search for the required ones. As you enter the name of the node in the search field, the resulting list will change gradually and the matching names will be highlighted:
The option Retry attempts is used to set up the number of attempts the system should make to execute a project via the Scheduler, in case the first attempt ends in failure. For example, it can happen if a node importing data from an external database doesn’t complete execution as a result of network failure. Consequently, the project will fail to execute if only one attempt is made. If there are, say, 2 or 3 attempts, the problem may be solved.
| When there are several events scheduled, the next event will start only when the previous one is finished (including all tasks of the event). |
The option Remove missing nodes can be used in case you have deleted some of the nodes from a project that has been previously executed via the Scheduler. When you reopen the same task configuration window, the list of nodes may look as follows:

Next to the names of the nodes that have been recently deleted from the project you will see a question mark. By clicking the Remove missing nodes button you can update the list of available project nodes in one go.
Project cleaning
Project cleaning might be used if a user wants to remove the cashed results of the project nodes. Flowchart connections and node configuration are preserved. This command does not have any configurable options, you must only open the required project.
Configuring triggers
To set up a trigger, select an event or a task in the hierarchy, then select Add project trigger in the Add task menu. The following dialog will open:
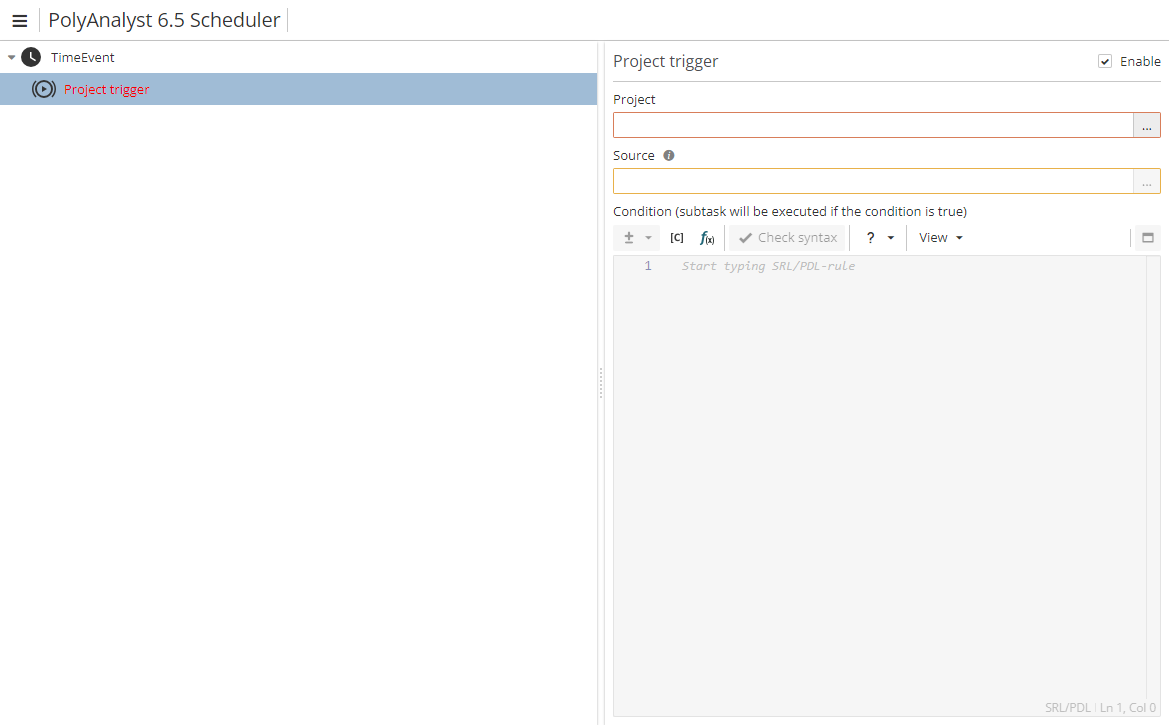
Open the required project with the help of the … button to the right of the Project field. The Source field will become active. Click the … button to select the source dataset. A new dialog listing all the nodes from the selected project will open:
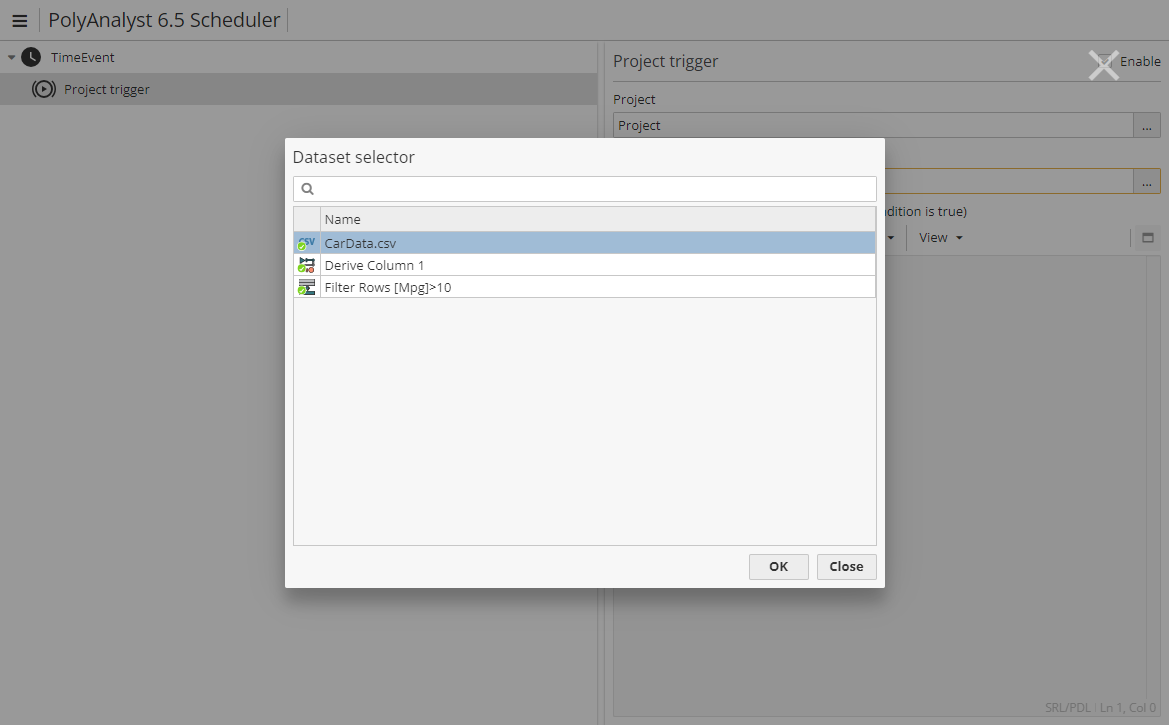
Double-click on the name of the required node to select it and close the Dataset selector window. Alternatively, select a node and click the OK button. PolyAnalyst will scan the column names and data types of the selected node. Note that if a node is ready for execution, its icon is marked with a green "ready" sign, otherwise it is yellow or red.
Enter an SRL expression in the designated field to set up a condition for a subtask to be executed. The expression is saved automatically. The new trigger will appear in the task hierarchy:
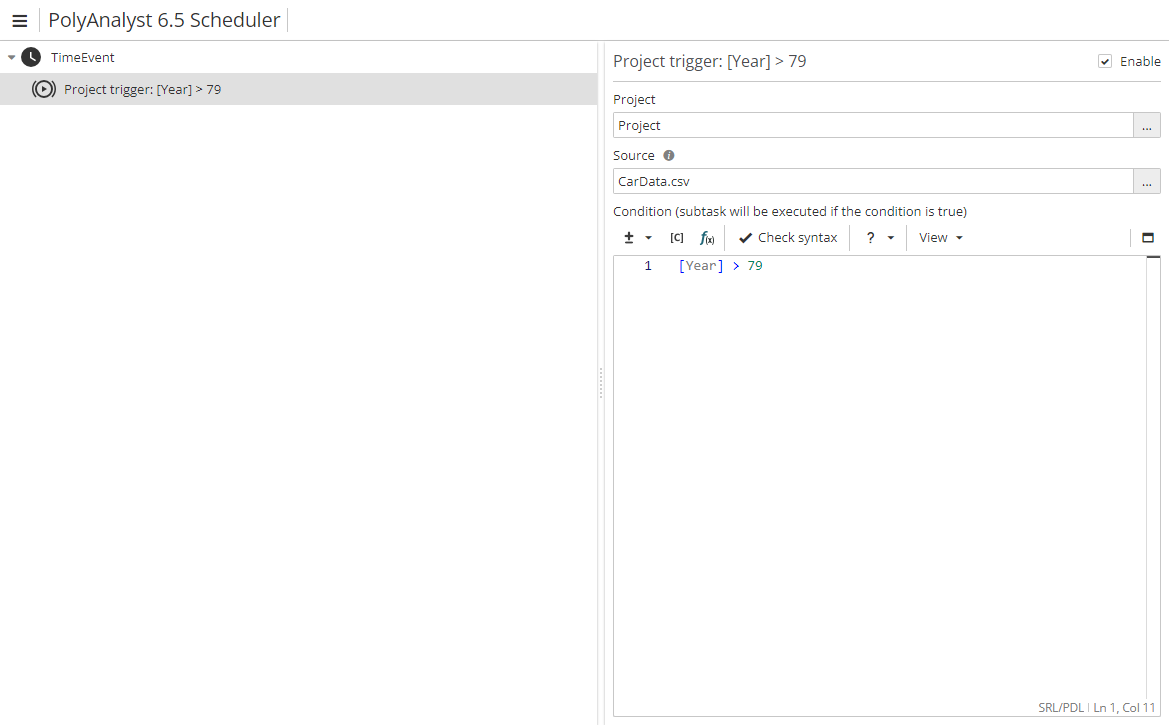
The trigger expression "[Year] > 79" indicates that if the value in the Year column of the specified dataset is greater than 79, a subtask will be executed.
| Note that the trigger condition is checked only for the first row of the table. |